Techniques
How to Freeze Scones: Make Ahead and Bake Fresh Anytime
Fresh scones have a narrow window. Pulled from the oven they are tender and steaming; twenty minutes later they are merely good; by the next morning they are something else entirely. That window is the reason a freezer is the most useful tool in a scone baker's kitchen. Shape a batch on a quiet Sunday, freeze what you do not need, and bake two or three whenever the mood strikes — with no more effort than turning on the oven.
Why Scones Freeze Better Than Most Baked Goods
Scone dough is forgiving in the cold. It is stiff, low in moisture, high in fat, and barely developed — and the less gluten you build, the less there is to suffer when ice crystals form. The butter stays properly cold, which is exactly what you want for flakiness, and the leavening does its work in the oven instead of on your counter the night before.
Baked scones freeze well too, but they need more help on the way back. Unbaked dough gives you a genuine fresh bake; baked scones give you something very close to it, provided you reheat them properly rather than letting them sit on the counter until they turn to sawdust.
Freezing Unbaked Scones: The Method Worth Learning
This is the approach to choose when you have time to plan ahead. Make the dough exactly as you normally would, then handle the shaped pieces gently — they bruise if you stack them warm and soft.
- Shape and cut first. If your recipe makes a round, cut it into wedges before freezing. Wrestling a frozen disc into portions later is a guaranteed way to shatter the edges.
- Arrange on a parchment-lined sheet pan with an inch or two between pieces so they freeze as individuals, not as a lump.
- Freeze uncovered for one to two hours, until the pieces are solid enough to hold their shape.
- Transfer to a heavy freezer bag or a rigid container. Press out as much air as you can, seal, and label with the date and the baking temperature.
- Return to the freezer. Aim to bake them within four to six weeks for the most dependable rise; the texture holds longer, but baking powder loses strength over time.
One detail that trips people up: do not brush the scones with cream or egg wash before freezing. The wash freezes unevenly and slumps into the crevices. Leave the tops bare and do your brushing right before the pan goes into the oven, when it will actually brown.
Baking Straight From the Freezer
No thawing required — and thawing is in fact the worse option, because a half-thawed scone slumps and spreads. Heat the oven to 400°F (200°C), line a pan with parchment, and set the frozen scones two inches apart. Brush with cream or beaten egg, sprinkle with coarse sugar if you like, and bake.
Add five to six minutes to whatever your recipe calls for. A standard recipe that bakes in 15 to 18 minutes from fresh dough will usually need 20 to 25 minutes from frozen. Smaller scones land near 18 minutes; generous, bakery-sized ones can take 26 or more. Judge by appearance, not by the clock alone: the edges should be deep golden and the tops set firm, with just a little give when you press the center. If they are still pale at the 22-minute mark, give them another two or three. If the tops are browning faster than the middles are setting, drop the oven to 375°F and finish them there.
A Note on Sizes and Crowding
Frozen scones release a fair amount of moisture as they bake, so crowding the pan steams them instead of browning them. Use two pans if you need to, and rotate them halfway through. Cold dough also drags the oven temperature down when it first goes in, which is another reason the extra minutes matter.
Freezing Scones You Have Already Baked
Baked scones are worth freezing when you have leftovers or want a ready supply of something to split and toast. The rules are simple.
- Cool them completely. A full hour on a rack, minimum. Wrapping a warm scone traps steam, and steam is what turns a crisp exterior into a damp sponge.
- Wrap individually in plastic wrap, then place the wrapped scones in a freezer bag or airtight container. The double layer is what prevents freezer burn on the cut edges.
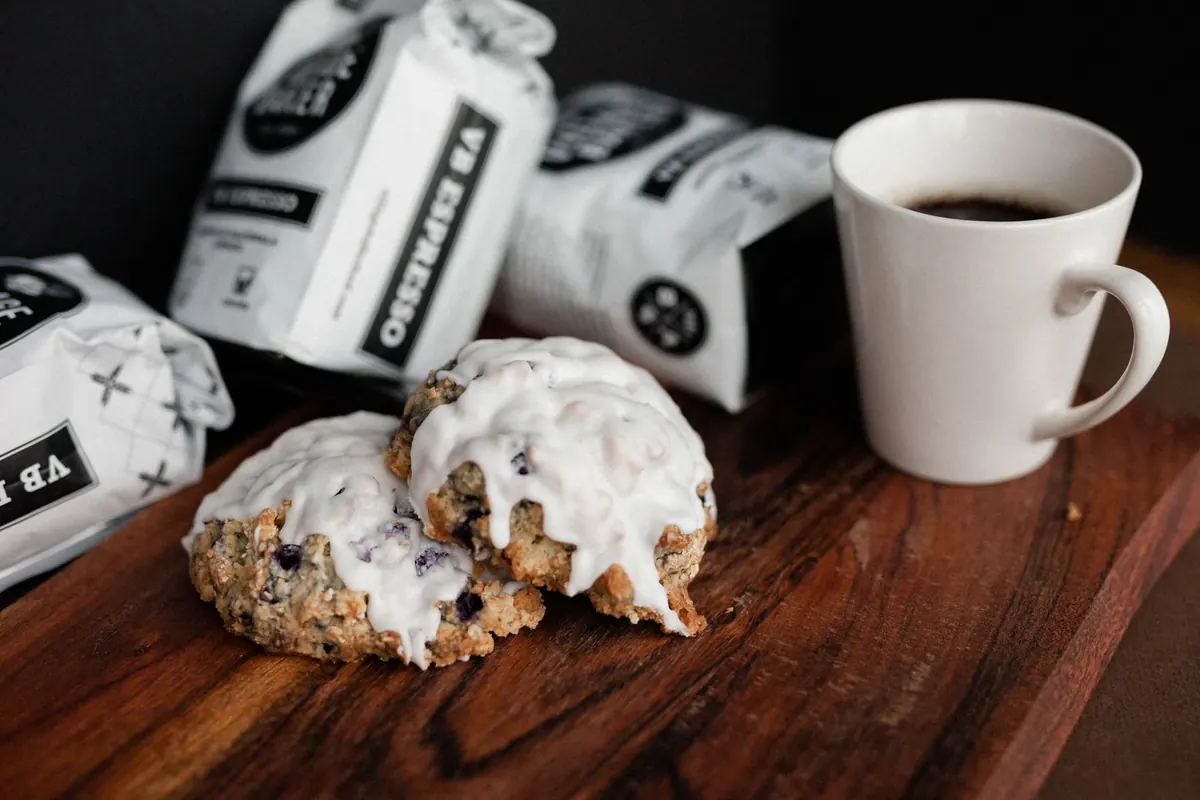
- Skip the glaze. Glaze frozen and thawed turns weepy and grainy. Add it after reheating, when the scone is warm enough to make it glossy but not hot enough to melt it into a puddle.
- Use within about two months. After that they are safe but dull — the flavor flattens and the crumb dries out.
Thawing and Reheating Without Ruining Them
How you bring a scone back matters as much as how you put it away. Choose the method that fits your patience.
- Oven (best for baked scones): 300°F (150°C) for 8 to 10 minutes, wrapped loosely in foil. Unwrap and give them two or three more minutes to crisp the outside. This is the closest thing to a fresh bake.
- Toaster oven (best for one or two): Split the scone and toast it cut-side down for three or four minutes. The interior steams slightly and the cut face turns crisp — ideal with butter and jam.
- Counter thaw, then refresh: Leave baked scones in their wrapping at room temperature for an hour or two, then warm them briefly in the oven. Thawing in the wrapper matters; unwrapped, they collect condensation and go sticky.
- Microwave (last resort): Ten to fifteen seconds, no more. It will be soft and a little rubbery, so follow it with a minute or two in a hot oven or toaster oven to bring back the crust.
Unbaked scones should never be thawed and refrozen. Ice crystals break down the dough's structure each time, and the second thaw leaves you with a flat, tough biscuit. Bake what you take out — a half-batch is easy to judge once you have done it a couple of times.
Mistakes That Cost You a Good Scone
- Stacking soft dough pieces before they are frozen solid, which welds them into one mass.
- Using a thin, flimsy bag that lets air in and freezer burn take hold within a couple of weeks.
- Forgetting to label. Scone dough and cookie dough look remarkably similar at zero degrees.
- Baking from frozen on a dark or nonstick pan at full heat, which browns the bottoms long before the centers set. Parchment on a light pan is the safer bet.
- Reheating a baked scone straight from the freezer in the microwave for a full minute. Start with fifteen seconds and add from there.
Build the Habit Into Your Baking Day
The practical version of all this is simple: when you make scones, make a double batch. Bake half, and freeze the other half on a parchment-lined pan while the first batch is in the oven. By the time you have cleaned up, the raw ones are solid and ready for a bag. From then on, a fresh scone is twenty minutes away on any morning you want one — no shopping, no mixing, no flour on the counter. That is the whole point of the freezer, and it is the single easiest upgrade you can make to your scone routine.
Photo: Romina Pastorini / Pexels