Recipes
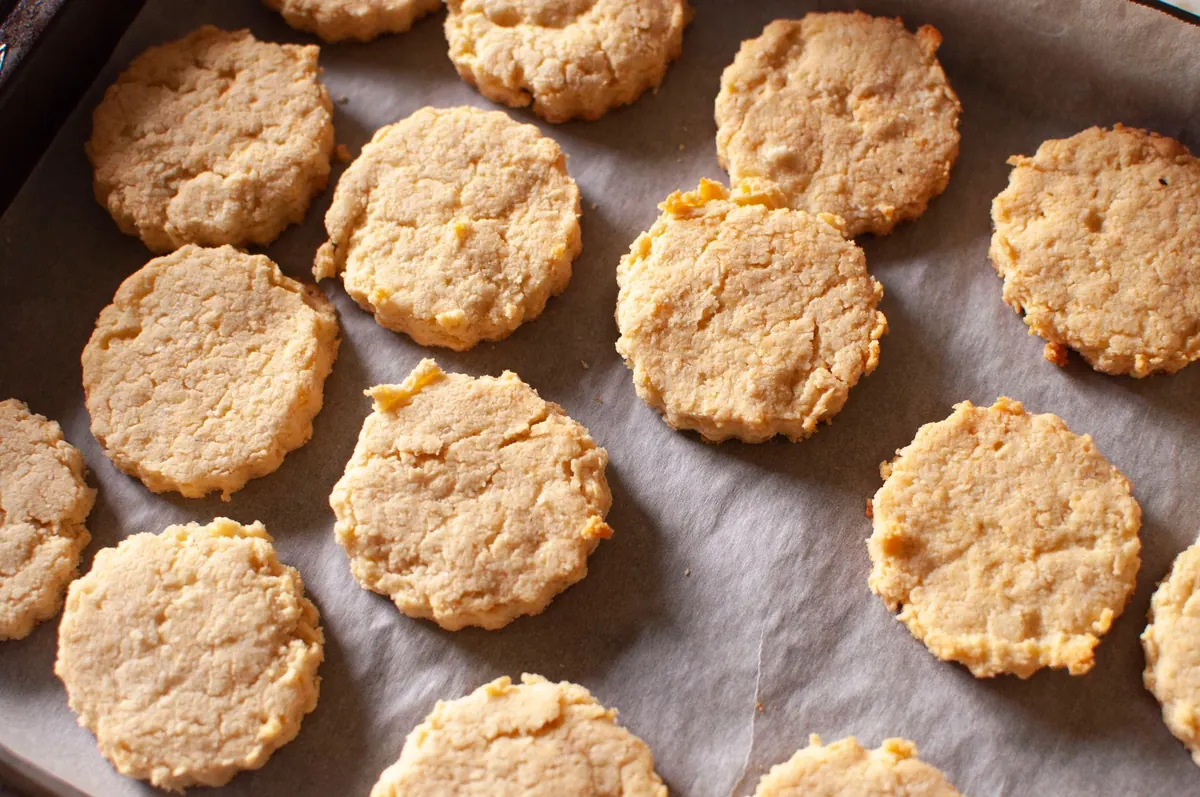
How to Make Perfect Scones: A Step-by-Step Beginner's Guide
Scones have a reputation for being tricky. They aren't, really. A good one is flour, butter, a little sugar and salt, cold liquid, and twelve minutes in a properly hot oven. What separates a tall, flaky scone from a flat, tough one is a handful of small decisions: how cold the butter is when it hits the flour, how little you handle the dough, and whether the oven was actually ready. Work through those decisions in order, and your first batch can be a genuinely good one.
Start With Six Ingredients
A scone is a short dough: fat cut into flour, then barely brought together with liquid. Six ingredients will do it.
- Flour. 2 cups (250 g) all-purpose or plain flour. Bread flour's higher protein makes scones chewy; cake flour makes them fragile.
- Baking powder. 1 tablespoon, and check the date on the tin. Stale baking powder is the most common reason scones sit flat.
- Salt. 1/2 teaspoon. Scones without salt taste like nothing, no matter how much jam you pile on.
- Sugar. 2 to 4 tablespoons. More than that and the edges brown before the middle sets.
- Butter. 6 tablespoons (85 g), unsalted, and genuinely cold.
- Liquid. About 3/4 cup (180 ml) cold milk, buttermilk, or heavy cream. Cream gives a richer, slightly closer crumb; buttermilk adds tang and a little more lift.
Add-ins are optional and easy to overdo. Roughly 3/4 cup of dried fruit, chopped chocolate, or grated cheese with herbs is the limit. Beyond that, the dough won't hold together and the scones crumble before they reach the oven.
Tools That Earn Their Space
You need a mixing bowl, a baking sheet, and something to cut fat into flour: a pastry blender, two knives, or your fingertips. A 2-inch (5 cm) round cutter gives neat, even scones. A knife and a steady hand give wedges, which is the easier route for a beginner. A bench scraper helps lift a sticky dough without tearing it. A kitchen scale, if you have one, removes the guesswork about flour — a cup scooped straight from the bag can weigh noticeably more than one spooned in and levelled.
Cold Butter Is Most of the Secret
When butter melts in the oven, the water inside it turns to steam and pushes the layers of dough apart. That's what makes a scone flaky. If the butter has already softened or melted before baking, it soaks into the flour and you get something dense and bready instead.
So keep it cold. Freeze the butter for 15 minutes, then grate it on the large holes of a box grater, or cut it into small cubes and chill them again. Toss the butter into the flour, then cut and rub until you have a mix of pea-sized pieces and flat flakes. Stop while there's still visible butter. Cold hands help. If yours run warm, work quickly and don't worry about a few streaks.
Mixing: Stop Before It Looks Finished
Pour the liquid in gradually. You may not need all of it, and on a humid day you'll need less. A fork is the right tool, because it combines without compressing.
- Stir until a shaggy, slightly tacky dough forms and no dry flour remains at the bottom of the bowl. It should look a little rough.
- Turn it onto a lightly floured surface and gather it into a rough rectangle.
- Fold the rectangle in half, press it flat, and repeat two or three times. These folds build layers.
- Pat, don't roll, to a thickness of about 1 inch (2.5 cm).
- Cut, transfer to the baking sheet, and chill for 15 minutes while the oven heats.
Resist the urge to knead. Kneading develops gluten, and gluten is what makes a scone tough. When the dough looks like it could use one more fold, it usually doesn't.
Shaping and Cutting for a Tall Rise
Thickness matters more than shape. At 1 inch, a scone has room to rise into a proper craggy top. Roll it to half that and you get biscuits; go thicker and the outside browns before the center bakes.
For round scones, dip a sharp cutter in flour and press straight down — no twisting. Twisting seals the edges and holds the rise back. Push the scraps together gently and cut again, once; a second reroll is usually tougher than the first. Wedges cut from a single round avoid scraps altogether.
Leave an inch or two between scones on the sheet for crisp edges, or place them nearly touching for soft-sided ones that pull apart at the table. Brush the tops with beaten egg, milk, or cream. That wash gives the glossy finish, and a sprinkle of coarse sugar or flaky salt on top is never a mistake.
Baking: A Hot Oven and Twelve Minutes
Preheat properly. Scones want 425°F (220°C), with the rack in the upper third, and the oven needs a full 15 to 20 minutes to get there. That 15-minute chill in the fridge fits neatly into the same window.
Bake for 12 to 15 minutes, turning the sheet halfway through if your oven runs uneven. What you're looking for: golden tops, firm sides, and a browned base when you lift one with a spatula. Pale scones usually mean an underbaked center, which turns gummy as it cools. A minute or two past golden is safer than a minute under.
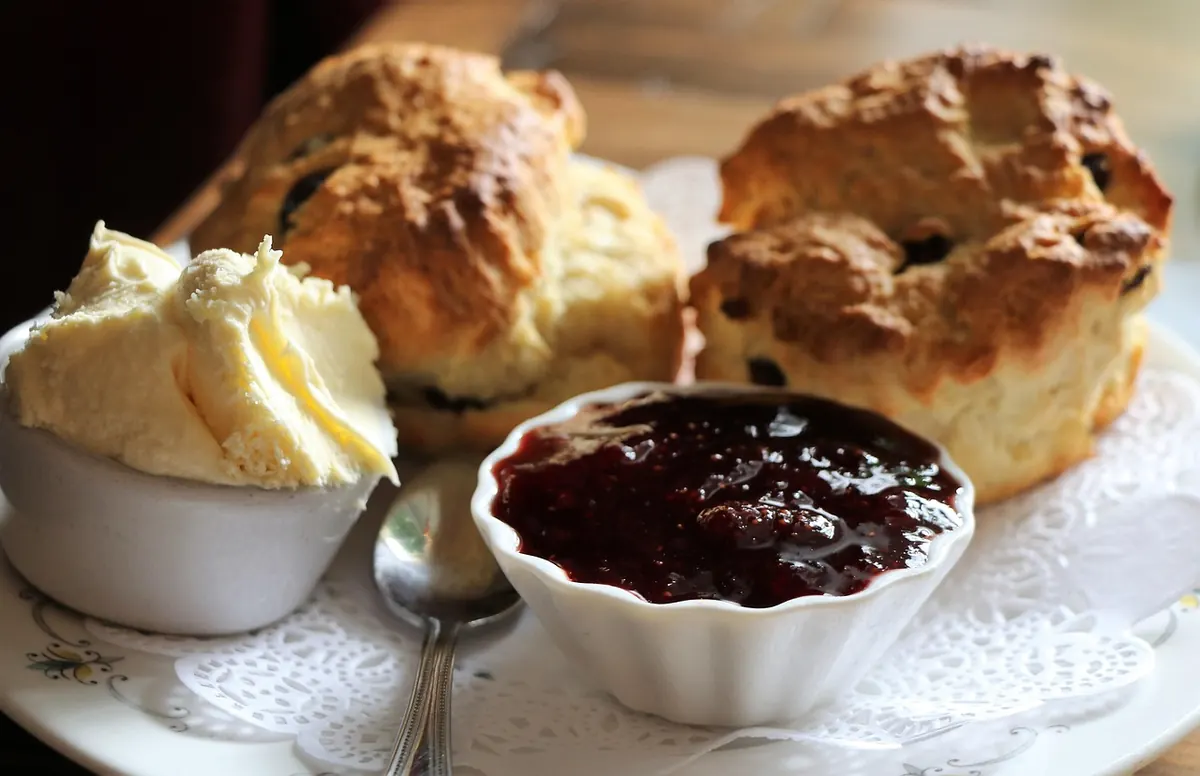
Move them to a rack for 10 minutes. Scones are best warm, split and spread with butter, jam, or cream. A few hours later they're still good, and they revive better in a warm oven than in a microwave, which turns them rubbery. Baked scones freeze well for a month, and so do cut, unbaked rounds — those can go straight from the freezer into a hot oven with a couple of extra minutes.
When Something Goes Wrong
They spread out flat
Warm butter, overmixed dough, or tired baking powder. Chill the dough longer next time and check the date on the tin.
The centers are gummy
Underbaked. Add two minutes, and check by lifting a scone to look at its base rather than trusting the clock.
They taste bland
Not enough salt, or too little of whatever flavor you added. A teaspoon of vanilla in the liquid, a handful of zest, or half a cup of sharp cheese all show up clearly in the finished scone.
They're tough and bready
Too much handling or too much liquid. Mix until the dough just comes together, and let it look untidy.
Your First Batch, Start to Finish
Measure everything before you begin, put the butter in the freezer, and turn the oven on. Grate the butter into the flour, cut it in, add the liquid slowly, and stop mixing while the dough still looks rough. Pat it an inch thick, cut straight down, chill the rounds, and bake at 425°F (220°C) until the tops are golden. Then eat one while it's warm, because that's the whole point, and decide what you'll add next time. The second batch is always better than the first, which is the best argument for making one this week.
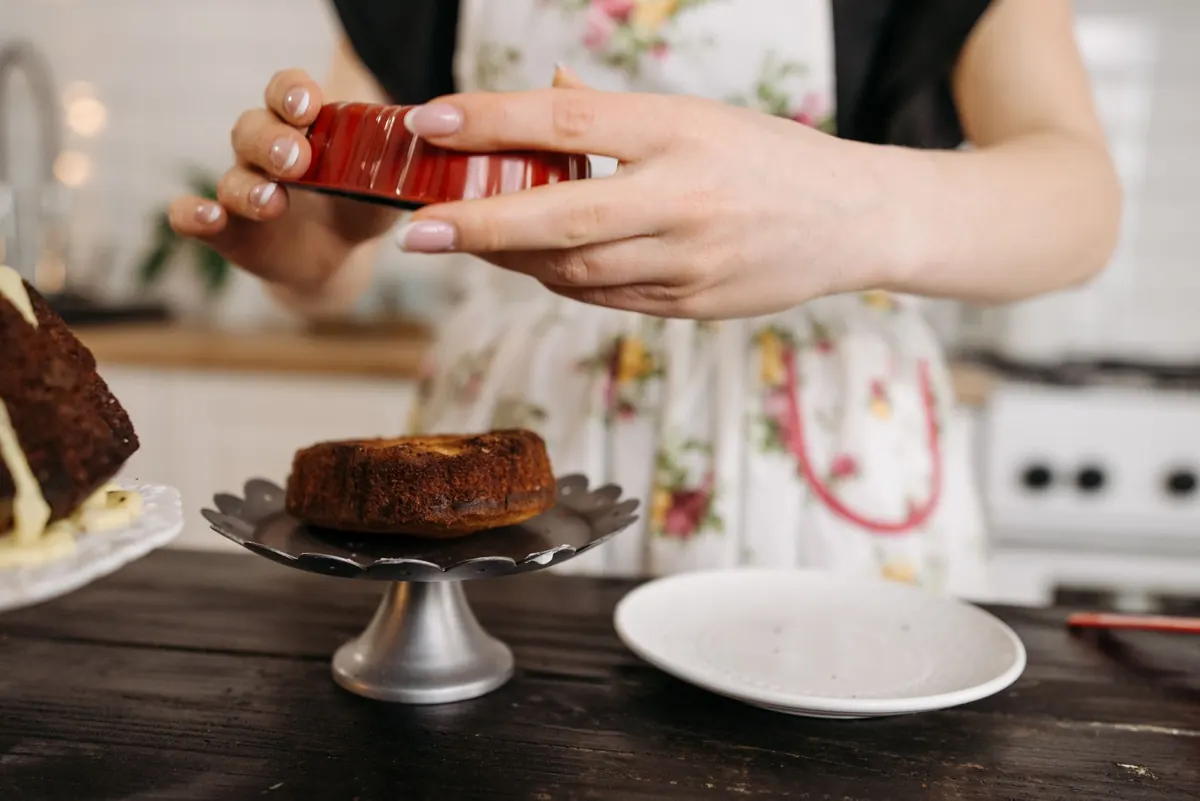
Photo: Matilda Iglesias / Pexels